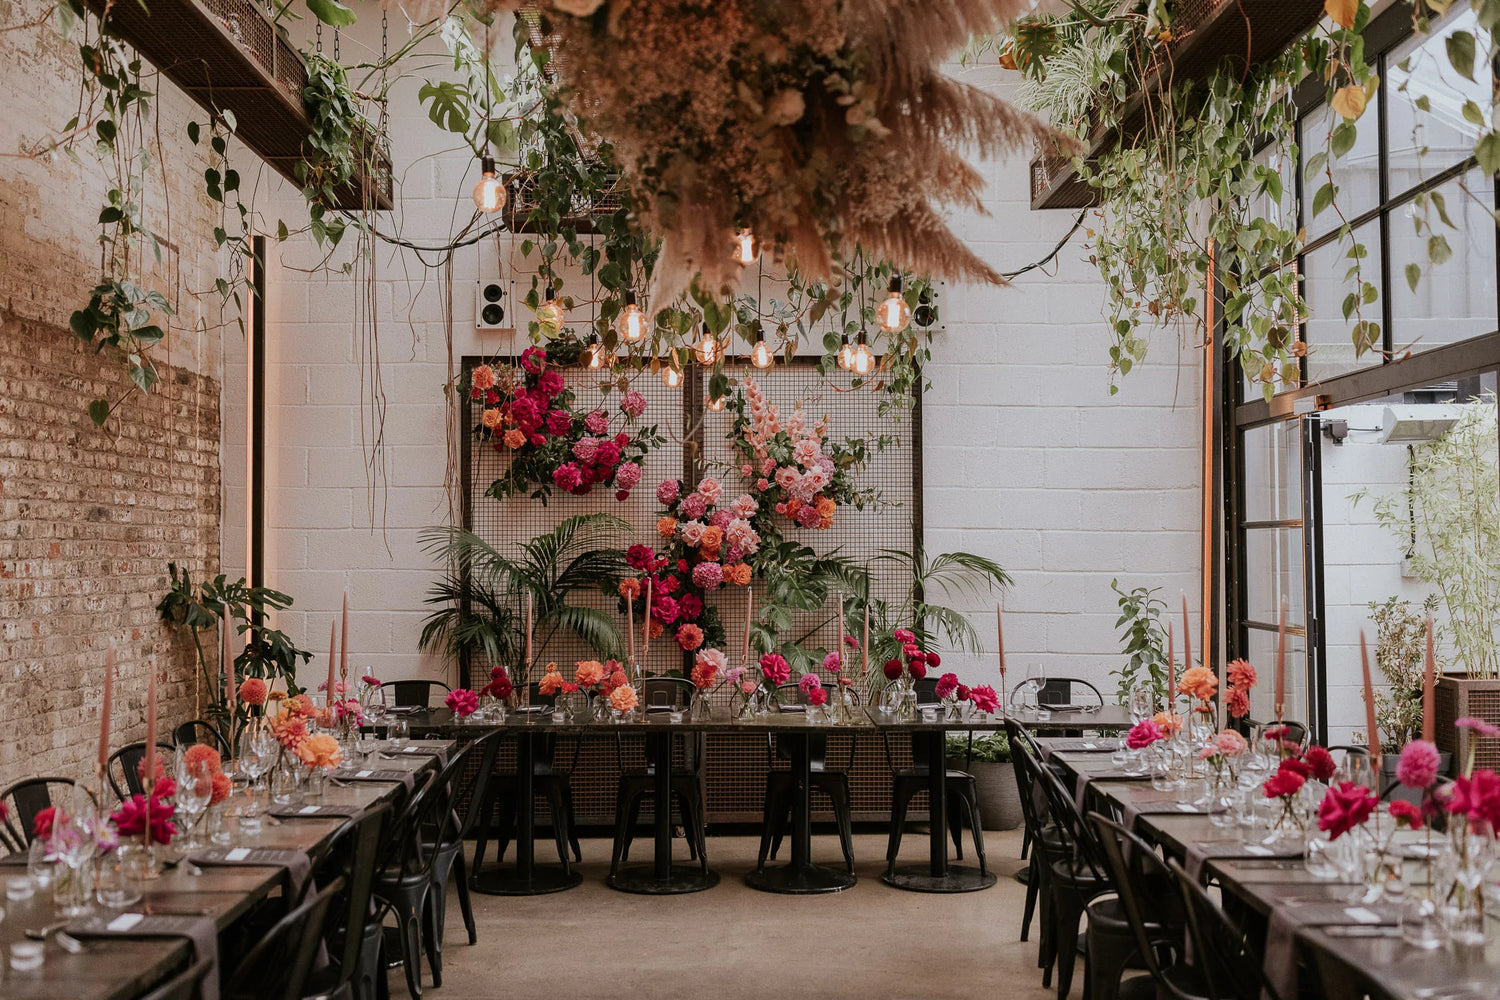
How to brew coffee with an Aeropress
Aeropress is one of the newer brewing devices on the market, made by Aerobie, the makers of the frisbee-like flying rings. This brewing method is similar to the French Press and results in a nice clean smooth finish with minimal cleanup.
Step 1
Bring 200ml of water to a boil. Weigh 18 grams of coffee and use a coarse grind.
Step 2
Insert a paper filter into the Aeropress's plastic lid and wet the filter paper under a cold tap. This will help the filter paper to stick to the cap, helps to clear away any residual paper taste and allows for consistent filtering.
Step 3
Put your Aeropress together making sure it’s completely dry to ensure the seal holds effectively.
Step 4
Place the Aeropress on a set of scales and tare the weight. If you don’t have scales don’t worry you can still brew great coffee without.
Step 5
Add your ground coffee. Be careful not to spill any grounds into the ring-shaped gutter at the top of the AeroPress.
Step 6
Start a timer. Using just boiled water, add 30g of water (or roughly double the volume of coffee if you're not using scales).
Step 7
Make sure the coffee is saturated evenly, tamping slightly with the paddle or butter knife if necessary, and let it sit for 30 seconds.
Step 8
Use the remainder of the hot water to fill the chamber.
Step 9
After a minute has elapsed, stir the grounds 5-10 times to mix the grounds.
Step 10
Fasten the cap, ensuring it locks into the grooves tightly. Flip the whole Aeropress over quickly and carefully, ensuring you don't knock them out of place. Position it atop your brew vessel and begin applying downward pressure. You will experience a fair bit of resistance here. Your coffee is fully brewed once it begins to make a hissing sound. This means there is no more water to push through the device.
Step 11
Once you’ve unscrewed the cap, you can pop out the filter and the puck of condensed grounds by simply pushing AeroPress’s interior section a final inch.